Have you noticed that running your own music studio is no longer about just about teaching music? We have become busy business owners with many roles to fill.
Teaching. Bookkeeping. Marketing. Social media updates. Nurturing client relationships. And, the list goes on.
Whether your studio is in a commercial space, your home, or your students’ homes, presenting a professional image both in person and online is essential for getting new clients into your studio. While word of mouth is still the main referral source, the first thing many prospective clients do after getting that personal recommendation is check who you are online and what you offer. (For more information on this visit BrightLocal’s 2017 consumer review.)
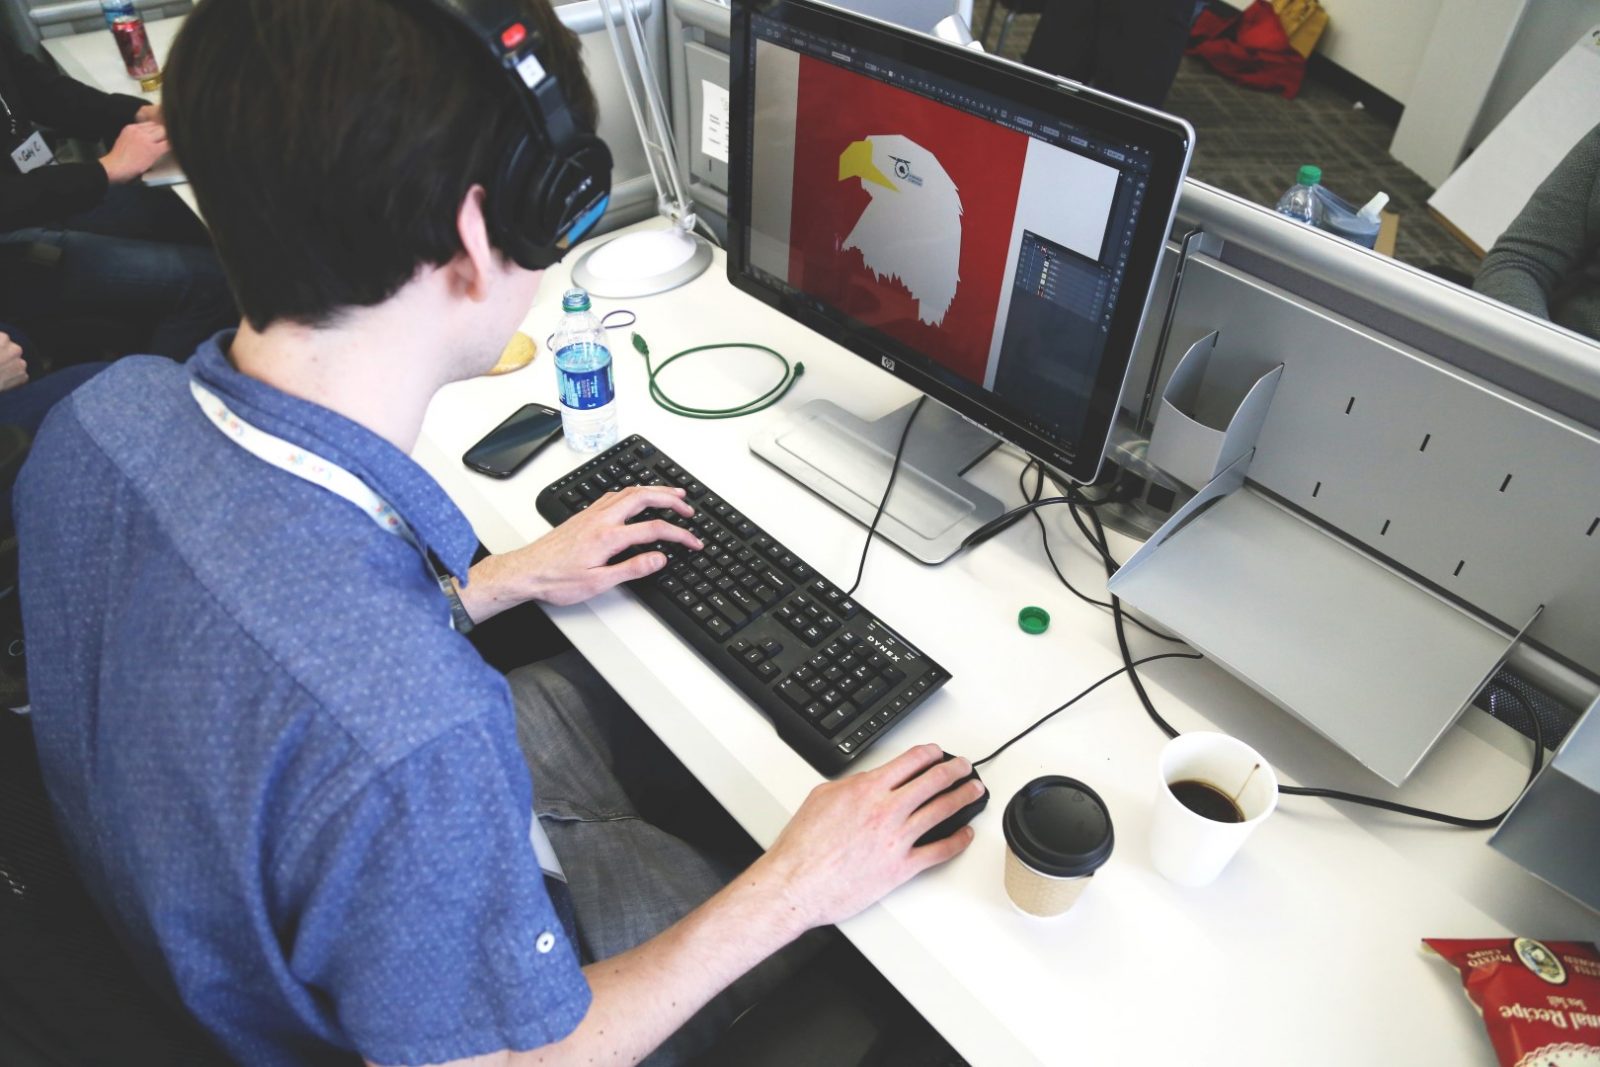
Canva is an online tool that I use extensively in creating almost all the graphics and resources for both my studio and teaching site. It is easy to create professional looking online and print materials by using the drag and drop interface. Now, I can create easy designs, cohesive looking Facebook images, YouTube videos and so much more!
P.S. Make sure you read right to the end where you will find a FREE DOWNLOAD on how to use Canva. And yep, the document was made using Canva.
I have never considered myself a graphic designer. My first images were clunky, took a long time and didn’t necessarily look so professional.
In fact, some of the online graphics my elementary school-aged twins make looks about the same level. But, I didn’t open my studio in order to spend hours each week being a graphic designer.
Canva is for the non-graphic designers. The people who don’t want to learn complicated (or seemingly complicated) software but want something more than what Word or PowerPoint can give them. The people who don’t want to spend hours creating images for social media or marketing. It’s for busy business owners and teachers like us.
Making designs doesn’t need to be difficult.
When our twins were babies and we needed my dad to build something for us I told him, “The budget is as close to $0 as we can get.” We got creative to make things work.
With so many free images, Canva is a budget-friendly option for small studios that don’t have a big budget for marketing. It’s a tool where you can make great looking materials for free. Or you can take advantage of other images (priced at $1.00) that may fit your needs better.
In total, there are over a million photos, graphics and fonts included. (Check this Forbes article with founders for more background.)
And, if you prefer to add your own images, not a problem, you can add those as well.
Whether you prefer to work on your computer or tablet, there is an option for you.
If at the computer is where you are most comfortable, the online app is available through your web browser. If you prefer tablet, Canva has a free mobile app that works on iPhone, iPad, Android mobile and Android tablet. There are a few options not available on the mobile app, but overall I haven’t typically missed them while creating.
I tend to use both the computer and tablet options depending on what I am creating and where I am when I am using it. I’ve created many a resource just sitting on the couch or deck while my kids play close by. Other times, I’ve started something on my computer, opened the app on my iPad to add an image from there, then jump back onto the computer for detailed work, all within minutes and all without logging off.
All this sounds great, you may say. A free program, lots of images and fonts to choose from, plus easy to use.
But, will I still be needing to use various programs to pull together my images and resources?
No. (Except for one caveat.)
The types of resources you can create are only limited by your imagination.
The main categories include:
For social media, Facebook, Twitter, Pinterest, Instagram and YouTube channels are all covered. With a click or tap of an icon, you can design your cover image or post image/graphic knowing that the size is already optimized for the specific channel.
Under marketing materials, any of the following have been set up to the perfect size.
With print materials, some of the options are listed above.
However, you can also create:
And if none of those options work perfectly for you, it is easy to set your own size by pixel, inches or millimetres. (Though the only sizing option on the mobile app is pixel.)
The image resources I create on a regular basis are:
There is one caveat I would put on using Canva. The more text boxes that need to be aligned, the more time it will take. It doesn’t mean that the end product isn’t worth it. But, it is something to consider.
For example, I created my recital program in Canva which is text heavy and uses several different font types and sizes. However, the overall product is beyond what I have been able to create using Word or PowerPoint. Plus, after my first year, I was able to copy the program and change out elements as needed. It has been completely worth it!

Learn how to create easy designs for your studio.
Below is a video on how to create a social media image using the iPad app. I’ll be covering how to:
Below is a video on how to create an invitation for print or digital use. It covers many of the same points as above, but with a different design focus.
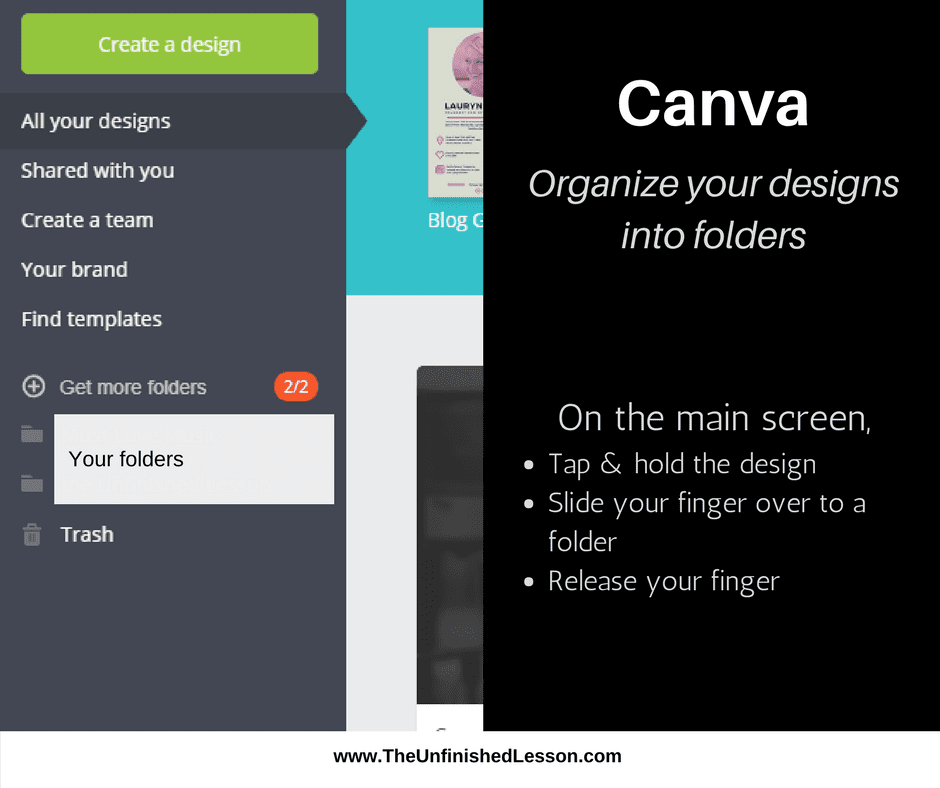
As you may have read in “How to Organize Your iPad and Save Precious Teaching Time”, I am a fan of keeping things organized.
And while keeping things organized doesn’t always work out exactly the way I would like in my ‘regular’ life, Canva makes it super-simple to organize images into different categories. Two folders come with the free plan.
You can divide your folders into:
If you have more than one employee creating images for your studio, you can create a team of up to 10 members for free.
And if you have a larger studio and want more capabilities, there is a paid option for that as well. With Canva for Work, your team can create a brand kit (with custom logos & fonts), save templates, automatically resize designs to fit a variety of sizes (i.e. Facebook ad can be resized to Pinterest image).
When I first began designing images, I will admit to feeling rather overwhelmed.
“What do I know about graphic design?”, I thought. While I did my best, my first creations, like most first creations when we try something new were not great.
Canva has a huge library of articles to help their users develop their ‘design eye’. For the first months, I poured over these articles in order to continually improve my social media images. Even now, I check in for specific help or inspiration. Though I would NOT recommend reading all these articles back to back. We are just too busy for that! Over time, I hope that they prove as useful to you as they have to me.
If you would like to learn more about the design side of things, my favourite articles are:
Colour Theory:
How our readers, viewers, and clients interact with the designs we create has a huge impact on how they feel about our studio. Colour plays an important part in mood and mind associations. (Think of how orange & brown will often be associated with fall.)
This was one of the hardest areas for me to figure out at first. I was so lost as to which fonts would look the best for my images. And, as a result, I spent way too much time on this at the beginning.
These articles will help you cut through the font ‘noise’ and quickly choose what will work best for each image.
While moving things on the screen is fine, sometimes knowing shortcut keys can take time off the process. I often will refer to these articles when I want to make better use of the keyboard.
‘Keyboard Shortcuts’ is an infographic. ‘Canva Shortcuts’ parts one and two are tutorials that let you try out the shortcuts in real time.