Do you find it hard to find activities suitable for multi-age group piano lessons?
Are you looking for help and inspiration for teaching group classes?
Check out these fantastic tips!
Related: Teaching Outside The Box with Lynnette Barney
Table Of Contents:
- Do Students Like Group Lessons?
- What Are The Benefits of Group Lessons?
- How Do Group Lessons Work?
- What Are The Benefits of Multi-Age and Level Group Lessons?
- Rhythm Cups With A Twist
- Group Improvisation
- Writing Scales and Building Chords
- Playing From Lead Sheets
- Looking For More Inspiration?
Do Students Like Group Lessons?
Yes!
If you asked my students their favorite part of learning the piano they will almost certainly answer, “Ensemble class!”
90% of my students participate in a weekly group lesson we call ‘Ensemble Class’.
Ensemble class is something different. It’s more fun because we get to do awesome stuff! I like to do rhythm cups with the backing tracks. I like lead sheets because the music (Yamaha Clavinova style function) with it is fun.
Lucy, age 10
The other kids in ensemble help me become a better piano player
Connor, age 11
What Are The Benefits of Group Lessons?
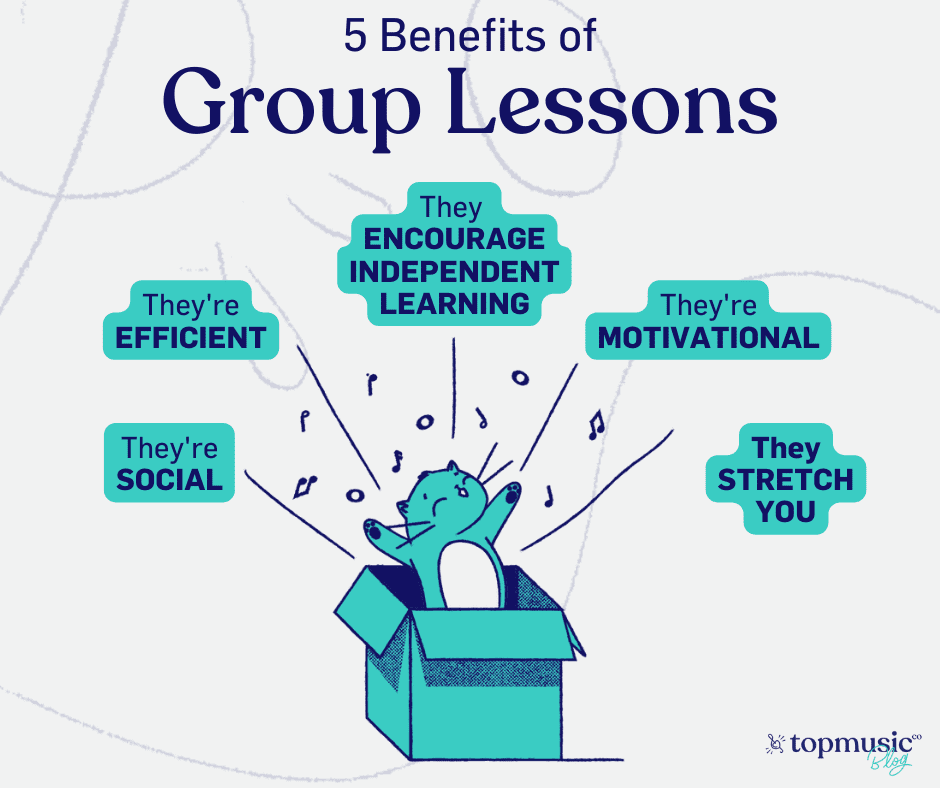
There’s a long list of why group lessons are beneficial for students, but let me give you six:
- They are SOCIAL.
Piano study can be a solitary activity, especially at the beginning levels. Students enjoy spending time learning and playing music together and playing games.
- They’re MOTIVATIONAL.
Students hear music they want to play or take musical risks they might not take one-on-one with a teacher.
- They’re EFFICIENT.
You can teach the same thing to several students at the same time and review concepts more frequently.
- They ENCOURAGE INDEPENDENT LEARNING
Students take ownership of their own learning and often make connections you, the teacher, didn’t expect.
- They STRETCH YOU.
You’ll learn from your students
- They DEVELOP EAR and ENSEMBLE SKILLS as students play and respond to music together.
Ensemble shows and tells me what other kids do with music and it’s fun to see that and learn from it.
Landon, age 11
How Do Group Lessons Work?
There are many innovative ways to schedule group experiences in your studio.
Some teachers are lucky enough to see students twice a week- once for private lessons, once for group lessons.
Other studios have one group lesson or master class each month or semester, either in lieu of private lessons for the week or in addition to them.
In the past, I grouped my students by age and level, either weekly or monthly.
This was great in many ways but posed two significant challenges:
- Regardless of studio size, it can be a scheduling nightmare to get all your students into groups by age and level
- When you teach siblings, currently comprising more than half my studio, parents prefer to make one trip to the studio, if possible, rather than several trips a week
Over the past several years, I’ve been on a quest to find a way to see students in private AND group settings each week, scheduled so parents make only one trip a week.
These days, in addition to their weekly private lesson and piano lab time, students in my studio also attend weekly group lessons, their “ensemble class.”
Innovative scheduling allows students to complete all three lesson components on one day AND allows siblings to attend together.
As a result, most of my weekly studio group lessons are mixed-level and multi-aged.
What Are The Benefits Of Multi-Age and Mixed Level Group Lessons?
At first, I was apprehensive about teaching such mixed groups of four to six students.
But I’ve discovered there are unique benefits to teaching mixed-level and multi-age groups:
- Mixed-level lessons allow younger, less experienced musicians to learn from their peers and to explore and be exposed to concepts they may not have touched on in private instruction
- They allow older, more experienced students to learn by teaching and modeling concepts they already know, reinforcing concepts they’ve learned, and acting as mentors and role models for younger students.
I get to help teach other people
Ben, age 12
In Ensemble Class people help you.
Jill, age 6
- Students are exposed to concepts repeatedly over time, learning and re-learning concepts and making new connections between what they’ve learned.
Teaching multi-age and multi-level groups weekly, monthly, or quarterly requires creativity, advanced planning, and a spirit of in-the-moment innovation.
It can be a challenge to keep older, more advanced students engaged and motivated while not overwhelming younger, less experienced students.
We have four learning activities, specifically designed to engage, inspire, and motivate your multi-age and multi-level groups.
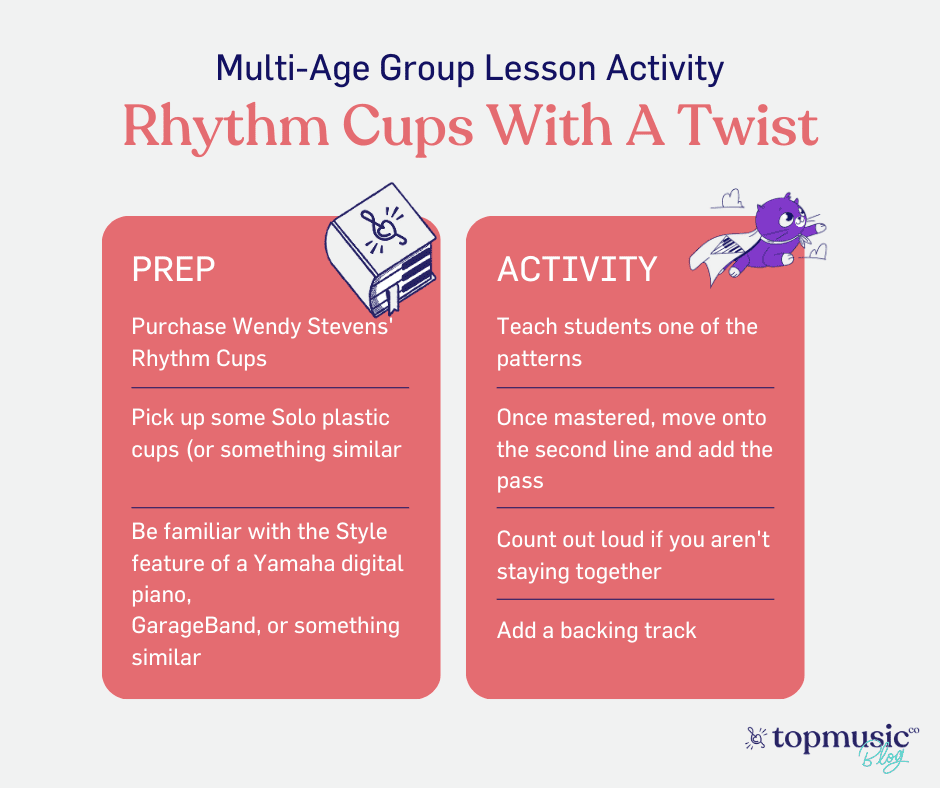
Rhythm Cups With A Twist
Preparation
- If you don’t already own Wendy Steven’s Rhythm Cups, click here. (You could even buy the holiday edition for some seasonal fun!)
- Pick up some Solo plastic cups or something similar.
- Be familiar with the Style feature of a Yamaha digital piano, GarageBand for Apple products, or something similar that allows students to play chords with a rhythm background.
Looking for help with navigating GarageBand? Check this out!
Activity
- Teach students one of the patterns – there are many to choose from. Once they’ve mastered the pattern, move to the second line and add the pass.
- Because I have so many left-handed students in the studio we switch between holding the cup in our right or left hand.
- I have my students count out loud at first or if we aren’t staying together.
- Add a backing track.
Wendy sells accompaniments for the cup patterns, or you can easily have students create their own using GarageBand, a digital piano, or something similar. Just have the students play a four-measure sequence of chords.
Adapting To Mixed Levels And Ages
- Have younger students do a simpler pattern at first if the “pass” matches up. They will eagerly practice mastering the harder patterns too!
I sent the patterns home with younger students so they can do some extra practice. Students love mastering tricky rhythm patterns without worrying about correct notes or fingerings.
- The Style feature on Yamaha (or similar) keyboards makes everyone sound like a pro! Have younger students play just the root of the chord and they sound like a band. Older students can play the chords in the root position or in inversions.
- Put cue cards up for younger students with the letter name of the chord they need to play. Use cue cards with chord function symbols such as I, ii, IV, etc for older students.
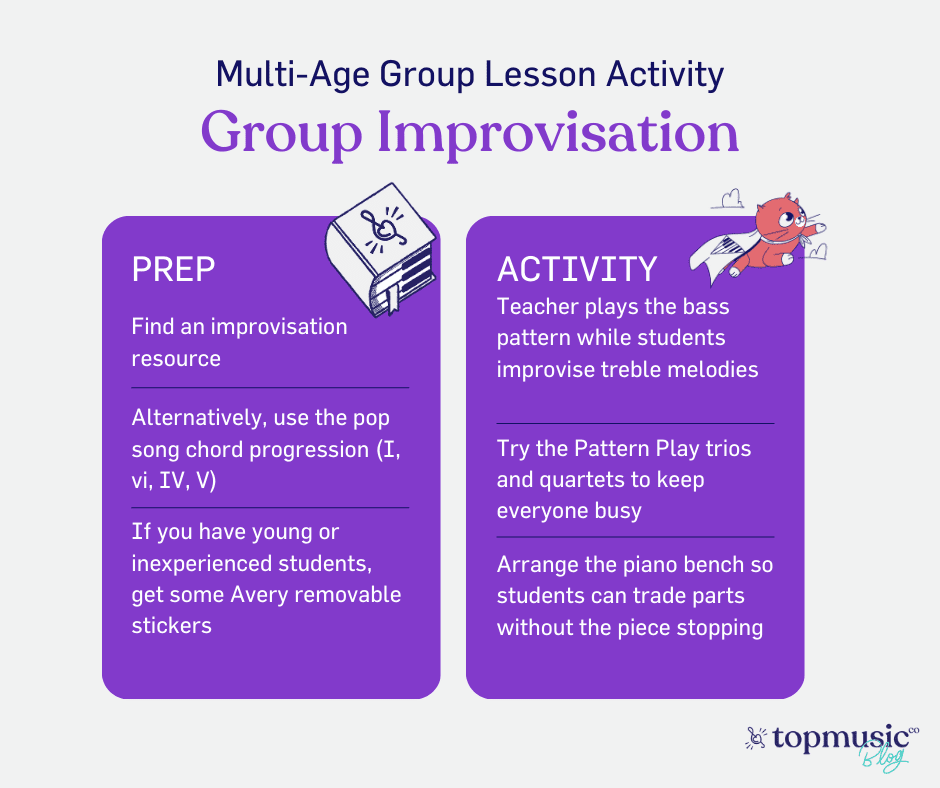
Group Improvisation
Preparation
- Find an improvisation resource such as Forest Kinney’s Pattern Play, a very popular collection in my studio. There are simple improvisation patterns in Music Tree and Piano Safari too.
- Looking for something immediately accessible? You’ll have instant success improvising over the pop song chord progression (I, vi, IV, V)
- If you have young or inexperienced students, get some Avery removable stickers.
Related: 27 Easy Chord Progressions For Your Piano Students
Activity
- Initially, the teacher plays the bass pattern while students improvise treble melodies. Once students have heard and participated in the pattern, have an older student take over the bass pattern – they’ll have picked it up quickly and be eager to show what they know!
- Try the Pattern Play trios and quartets – those will keep everyone busy.
- Arrange the piano benches so that students can trade parts without the piece stopping. Students in my studio love teasing each other when they lose the beat while trading and the piece ‘dies’. And they love it when I can’t even tell someone traded!
- Improvisation offers many opportunities to explore theory and composition concepts. For example, show students how to create a motive, then how to use that motive to create a variation, repetition, sequence, or retrograde.
Modification
- Simplify the bass pattern for young students.
- Place Avery stickers on the edges of the keys to mark the notes students should play or should not play if the scale or pattern is not part of their music vocabulary yet.
- Have students write their motives and variations on whiteboards or paper while they wait for their turn to improvise. Students may write letter names, or notation, or use their own creative notation system.
Writing Scales And Building Chords
Preparation
- Purchase or make cards with the letters of the musical alphabet on them. Some resources – Wendy Steven’s Monkeys, Susan Paradis’ alphabet cards, or Music Mind Games alphabet cards. Or just use plain index cards to make your own. Be sure you have some way of indicating sharps and flats. Each student will need two sets of cards in contrasting colors.
- Prepare small cards with the words major, minor, and diminished on them.
- Prepare small cards with scale degrees, Roman Numerals I, ii, iii, IV, V, etc on them.
- Alternatively, provide blank cards or sticky notes the students can write on to create their own labels.
Activity
- Have students quickly build a scale with their cards on the floor. Place the first note of the scale by their left knee and build horizontally to the right. You can build five-note scales, major or minor one-octave scales, modes, etc.
- Have students label the various scale degrees of their scale under the alphabet cards.
- Build a triad on each scale degree and test each triad out on the piano to see if it’s major or minor or something else. Label the triad with the correct card.
- If teaching scale degrees, add Roman numerals beneath the scale degree card to indicate the chord function.
Modifications
- Have students build a scale they understand – younger students might build a five-note scale (Pentascale) and older students might be working on full scales, minor scales, or even modes.
- Have each student play the scale they created on the piano.
- Have older students, who might build their scales and chords very quickly, create and write a chord progression using the chords in their scale. Or have them add finger number cards to demonstrate the scale fingering.
Here’s an example of learning something together as a teacher and students:
Recently, I was working with a group of students on primary and secondary triads. The students were building their primary triads and students discovered that you use exactly 6 of the 7 scale notes to build the three primary triads. If you do it correctly, you have one note left over.
Lucy, 10, discovered that the leftover card fits perfectly on the V triad, making it a dominant 7th. The students promptly named it the “Lucy chord” and haven’t forgotten its name or function. And I learned a new way to explore dominant seventh with my students.
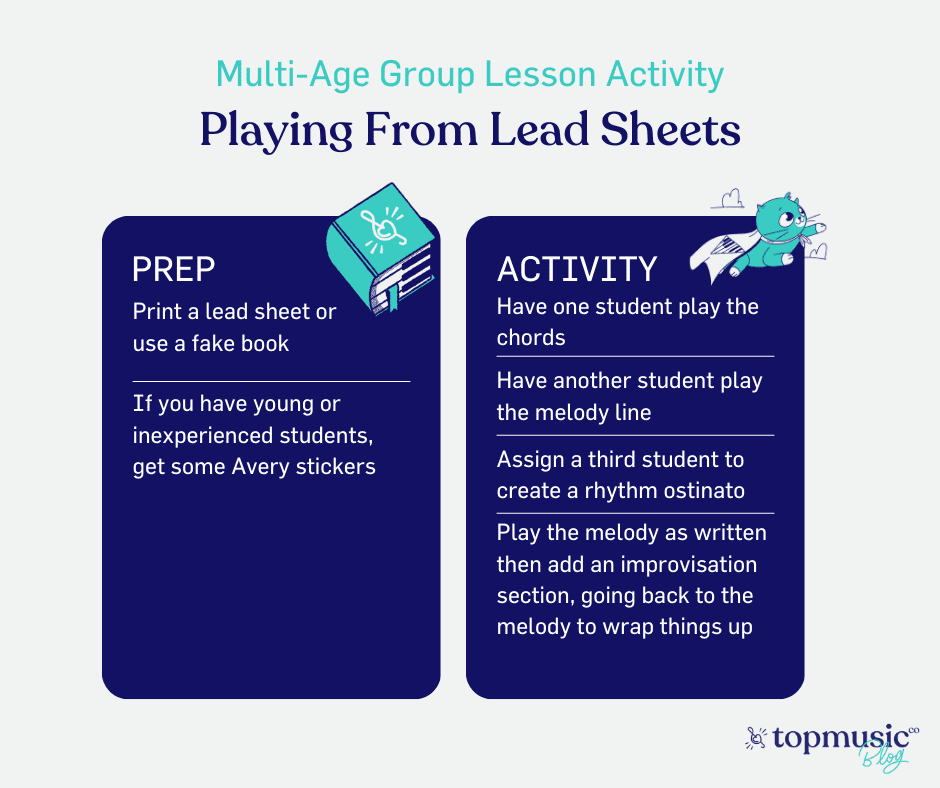
Playing From Lead Sheets
Preparation
- Print a lead sheet or use a fake book. I print a lot of simple, public-domain lead sheets from Music For Music Teachers.
- If you have young or inexperienced students, get some Avery removable stickers like these here.
Activity
- Have one student play the chords in the “sweet spot” for chords, roughly between bass C and treble E (credit to Bradley Sowash for the phrase)
- Have another student play the melody line. Or have two play it to create an octave.
- Assign a third student to create a rhythm ostinato with a rhythm instrument or drum.
- Play the melody as written, and then add an improvisation section for contrast, going back to the melody to wrap things up.
- Take the whole thing to a keyboard with a style feature. Have one student play chords, one play the melody, and switch places without losing the beat!
Modifications
- Have a student create or play a backing track of the chords with the iReal Pro app, Garage Band, or a Yamaha Keyboard with the Style function. This can be simple or elaborate, depending on the student and the piece.
- Have a beginner be the “bass player”, playing just the root of the chord around Low C.
- Add an ostinato for a beginner to play above the melody. Or better, have them create an ostinato.
- Have a more advanced student be the guitar player in the “sweet spot for chords,” playing chords in root positions, common cadence patterns, inversions, or styles such as a march, waltz, Alberti bass, arpeggiated, etc.
Looking for inspiration for left-hand chord patterns? Click here!
Looking For More Inspiration?
At TopMusicPro we know that teachers love the idea of group lessons, but can find setting them up and planning for them stressful and overwhelming.
That’s why we have fantastic guides and courses to help you feel confident and prepared for group teaching. We’ve got you covered on the business side of things, from marketing and establishing your studio as a group lesson studio, to lesson plans, content ideas, and inspiration.
Our Group Lesson courses are available to all Studio and Evolution members of TopMusicPro.


Elizabeth Stansifer says:
I’m confused about which note is added to make “Lucy’s chord.” In C major, for example, the three primary chords (I, IV, V) use all seven notes: CEG, CFA, BDG. The note needed to make the dominant chord into a 7-chord, F, is already present in the IV chord. If you use a V7 chord in the primary chord progression, then D is often omitted from the three notes that played as a G7 chord. But addition of D to G7 doesn’t make it a 7-chord, so it must not be that note either. In most cases when six out of the seven scale degrees are used, it is the seventh note (B, in our case) that is the odd one out. But the B is already part of the V chord, and, in any case, addition of the B doesn’t make it a 7-chord. Please help me understand what I’m missing! Thanks!
Lynnette Barney says:
Great question. This would work better with a photo! Each student had two sets of scales cards A-G. The scale was laid out horizontally with one set of the cards. The other set of cards was used to build the triads on the 1st, 4th, and 5th scale degrees. So for C scale you add E and G above C, A and C above F, and B and D above G. That leaves you with only F (from the second set of cards) not used to build a triad, and Lucy noticed the pattern of skips and added the F on top of the G-B-D chord, using the last of the seven cards. I hope this makes more sense! We were building rood position triads, not inverted triads like you would play in a cadence. Have a happy day!
Campman Lorraine says:
You use the term “pass” several times, such as “ Have younger students do a simpler pattern at first if the “pass” matches up. ” What does pass mean? Thanks!
Lynnette says:
That’s a great question! In the Rhythm Cups patterns created by Wendy Stevens of ComposeCreate.com, some of the patterns end by passing the cup to the next student. That’s the “pass” I’m referring to. https://composecreate.com/product/rhythm-cup-explorations/
Rebecca Windham says:
Thank you so much for this information; As an experienced music professional (teaching & performing), I teach my young private students only about 3 times a year in a group setting for just one hour! Not a lot of time, but these are certainly good ideas from which to choose snippets and from which to build upon! Good stuff!
Jenna says:
This is exactly what I needed. I’m changing up my group lessons because I think we’re all getting BORED! (Noooo!) I can’t wait to put these ideas to work! Thank you!
Lynnette Barney says:
Thank you! I hope you have success!
Jennifer Foxx says:
Fun ideas! Thanks for sharing! 🙂